
Removing a buddy bearing might seem like a daunting task, but fear not – we’ve got you covered. In this comprehensive guide, we will walk you through the process of removing a buddy bearing in an easy-to-understand, human-friendly manner. Whether you’re a seasoned DIY enthusiast or a newcomer to trailer maintenance, our step-by-step instructions and tips will help you navigate the process effortlessly.
And I will try my best to cover it in every way and try to write it as good as possible and I hope you share more so that more people can benefit from it. Begin your article
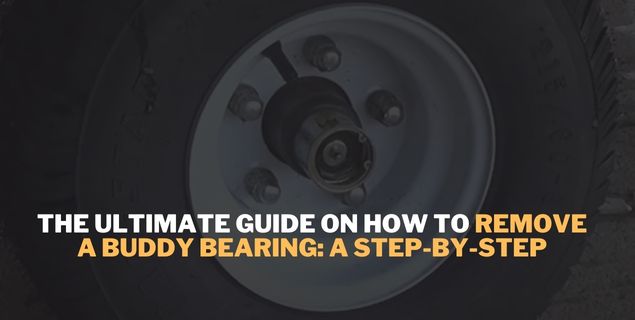
Understanding Buddy Bearings:
Before diving into the removal process, it’s crucial to understand what buddy bearings are and why they are essential. Buddy bearings are a type of hub assembly designed to protect and lubricate trailer wheel bearings. They play a vital role in preventing water and contaminants from infiltrating the bearings, ensuring smooth and efficient operation.
Tools and Equipment:
To get started, gather the necessary tools and equipment. You’ll need a few common items such as a jack, lug wrench, pliers, and a flathead screwdriver. Ensuring you have the right tools will make the removal process much smoother.
Step-by-Step Guide on How to Remove a Buddy Bearing:
Secure the Trailer: Begin by safely securing the trailer in a stable position. This may involve using a jack to lift the trailer off the ground.
Remove the Wheel: Utilizing the lug wrench, carefully remove the wheel to expose the hub and buddy bearing assembly.
Locate the Cotter Pin and Nut: Inside the hub, you’ll find a cotter pin and a retaining nut. Use pliers to remove the cotter pin and then the appropriate wrench to loosen and remove the nut.
Access the Buddy Bearing: With the nut removed, you can access the buddy bearing. It’s typically a cylindrical device located in the center of the hub.
Use a Flathead Screwdriver: Gently pry around the edges of the buddy bearing using a flathead screwdriver. Be cautious not to damage the hub or surrounding components.
Inspect and Clean: Once the buddy bearing is removed, take a moment to inspect it for any signs of wear or damage. Clean the area thoroughly to prepare for the installation of a new buddy bearing.
Installation of a New Buddy Bearing: If necessary, install a new buddy bearing by reversing the removal process. Ensure it fits snugly in place and is properly secured.
Tips and Safety Precautions:
Throughout the process, it’s essential to prioritize safety. We’ll provide helpful tips on staying safe while performing the removal, such as wearing protective gear and being mindful of potential hazards.
Conclusion:
Removing a buddy bearing doesn’t have to be a complicated task. With the right tools, a bit of know-how, and our comprehensive guide, you’ll be able to tackle this maintenance task with confidence. Keep your trailer running smoothly by following these easy-to-understand steps for buddy bearing removal.
And As much information as I had in this regard, I have tried to write it all in this article and I would request my viewers to read it carefully and get benefit from it and also express your opinion. It forces me to write more and more good articles and lastly I want to thank you very much!