
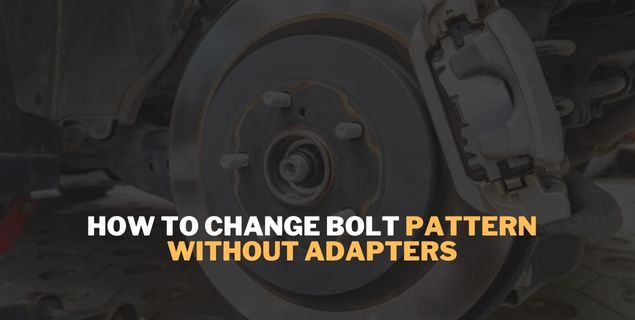
Changing the bolt pattern on your vehicle can be a challenging task, but with the right knowledge and tools, it can be accomplished without the need for adapters. In this comprehensive guide, we will walk you through the process of changing your bolt pattern step by step. Let’s dive in and explore how to change a bolt pattern without adapters.
And I hope you will like this comprehensive guide and share more peoples from your Surroundings. When you sharing to others peoples it motivates me and Makes me write more good articles.
Understanding Bolt Patterns:
Before delving into the process, it’s essential to understand what a bolt pattern is. The bolt pattern refers to the arrangement of bolts on a wheel hub and is expressed as two numbers separated by an ‘x’ (e.g., 5×114.3). The first number signifies the total number of bolts, while the second number indicates the diameter of the circle they form.
How to Change Bolt Pattern Without Adapters: A Step-by-Step Guide
Step 1: Measure Your Current Bolt Pattern:
Start by measuring your existing bolt pattern accurately. Use a bolt pattern gauge or measure the distance between adjacent bolt holes. Knowing your current bolt pattern is crucial for selecting the appropriate replacement parts.
Step 2: Choose the New Bolt Pattern:
Select the desired bolt pattern for your vehicle. Ensure that the new pattern matches the specifications required for your application. Keep in mind the load capacity and other specifications recommended by your vehicle manufacturer.
Step 3: Find Suitable Replacement Wheels:
Look for replacement wheels with the chosen bolt pattern. It’s crucial to find wheels that not only match the new pattern but also meet your vehicle’s load rating and size requirements.
Step 4: Verify Hub Compatibility:
Ensure that the replacement wheels are compatible with your vehicle’s hub. The center bore diameter should match your hub size to guarantee a proper fit.
Step 5: Purchase Hub Centric Rings:
If there is a difference in the center bore diameter between your new wheels and the hub, purchase hub centric rings. These rings fill the gap, ensuring a snug fit and proper weight distribution.
Step 6: Remove the Existing Wheels:
Use a lug wrench to loosen and remove the lug nuts securing the existing wheels. Carefully lift the vehicle using a jack and support it with jack stands for safety.
Step 7: Install the New Wheels:
Place the new wheels onto the wheel hubs, aligning the bolt holes with the studs. Hand-tighten the lug nuts onto the studs to hold the wheels in place.
Step 8: Torque the Lug Nuts:
Using a torque wrench, tighten the lug nuts to the recommended torque specifications in a crisscross pattern. This ensures even distribution of pressure on the wheel.
Step 9: Check for Proper Fitment:
After torquing the lug nuts, carefully lower the vehicle and check for any signs of wobbling or misalignment. Test drive the vehicle at low speeds to ensure the wheels are securely fastened.
Step 10: Regular Maintenance:
Periodically check the lug nut torque and inspect for any signs of wear or misalignment. Regular maintenance is crucial to ensure the longevity and safety of the new bolt pattern.
Conclusion:
Changing the bolt pattern without adapters is a feasible task with the right tools and knowledge. By following these step-by-step instructions, you can confidently make the switch to a new bolt pattern, enhancing the aesthetic appeal and performance of your vehicle. Remember to prioritize safety, and if you encounter any challenges, consult with a professional for assistance. Now that you know how to change a bolt pattern without adapters, you can embark on this DIY journey with confidence and ease.
And I hope you enjoyed reading this article and found it helpful in solving your car problems. Share as much as possible, express your opinion, this is my request to you, thank you very much